
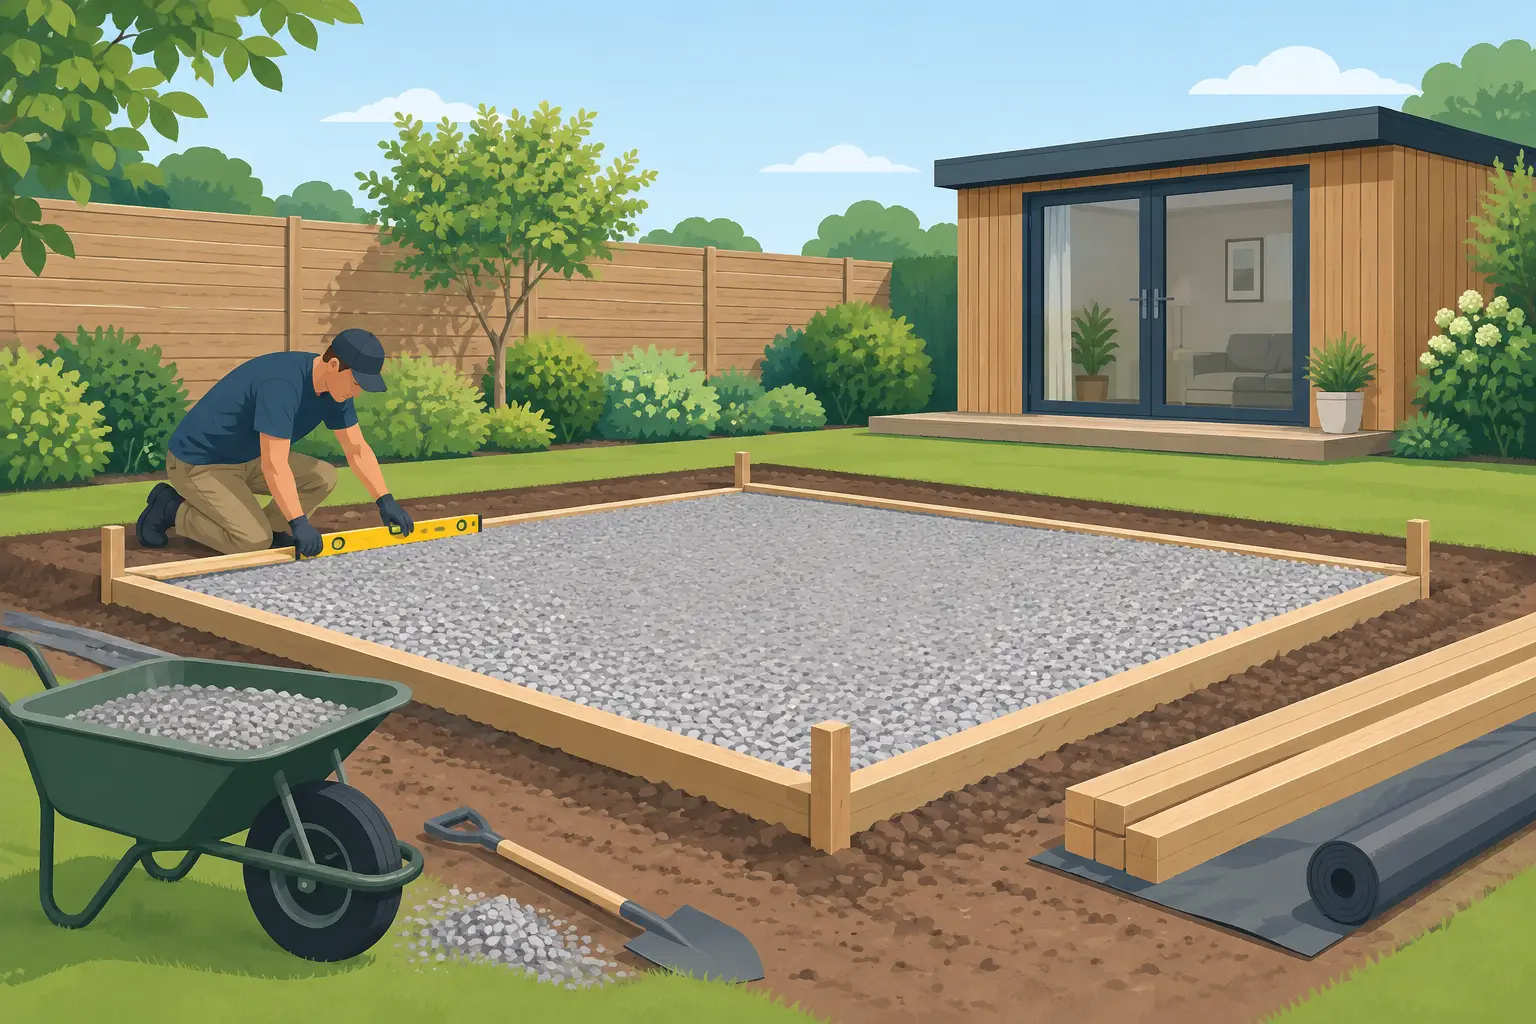
A garden room is only as good as the ground beneath it. Before you prepare garden room base, the site needs to be level, stable and capable of keeping moisture away from the building. Get this stage right and your new office, studio or leisure room will have the solid start it needs for comfortable, low-maintenance use throughout the year.
For most homeowners, the base is not the exciting part of the project. It is, however, where good planning prevents costly adjustments later. A carefully prepared base protects the structure, supports doors and windows correctly, and helps create the clean, finished appearance you expect from a premium garden building.
Start with the right position
Choose the location before arranging any groundwork. Think beyond where the garden room will look best from the house. You also need to consider how you will use it, where services will run and whether the installation team can reach the site safely.
A home office may benefit from a quieter corner of the garden, while a gym, golf simulator room or entertaining space may need easier access from the patio. Consider the outlook from inside as well as the view of the building from the house. A garden room should feel like a purposeful extension of your home, not an object placed wherever there happened to be space.
Check for overhanging trees, established roots, drains, inspection covers and uneven ground. Trees can create shade and privacy, but falling branches, root growth and persistent leaf debris can complicate both installation and long-term maintenance. It is also wise to avoid placing the base where surface water naturally collects after heavy rain.
Access matters just as much. Materials, panels and glazing must travel from the road to the proposed site. Measure narrow side passages, check gate widths and flag up steps, steep slopes or tight turns at the earliest stage. A clear access route saves time on installation day and helps avoid unnecessary disruption to your garden.
Choose a base that suits the building and ground
The correct solution depends on the size and specification of your garden room, as well as the existing ground conditions. Your supplier should confirm the base requirements for your chosen design before work begins. Do not assume that an old patio, a few paving slabs or a patch of compacted soil will provide suitable support.
Concrete slab bases
A reinforced concrete slab is a popular choice for insulated, all-year-round garden buildings. It provides a firm, level platform and is particularly well suited to larger rooms, buildings with wide glazing, and spaces intended for heavier uses such as a snooker room or home gym.
The slab must be properly sized, square and level. It should also be finished to the required tolerance – small variations can affect the fit of wall panels, doors and roof components. A professional groundworks contractor will excavate to an appropriate depth, install a compacted sub-base, add suitable reinforcement where required, and pour the concrete to create a stable finished surface.
Concrete is dependable, but it is not always the fastest or least disruptive option. Curing time needs to be allowed for, and excavation can affect surrounding lawns, planting and access. It is usually worth the investment where permanence, strength and a clean long-term result are priorities.
Ground screws and raised systems
In some gardens, a raised foundation system or ground screws may be more practical. These can work well on sloping sites, areas with limited excavation access, or gardens where you want to minimise disturbance to existing landscaping.
The building sits above ground level on a designed support frame, allowing air to circulate beneath it. This can be useful where drainage is a concern, but the system must be engineered for the building and installed on ground that has been properly assessed. It is not a shortcut for dealing with unstable soil.
Raised systems also need careful finishing around the perimeter. Skirting, steps and pathways should be planned so the garden room feels integrated, with safe, convenient access in all weather.
Existing patios and paving
A sound patio can occasionally be used, but only after a proper assessment. The surface must be adequately level, stable and large enough to support the full footprint. Loose slabs, settlement, cracking or poor drainage are signs that the patio may need repair or replacement first.
Avoid building over an inspection chamber without specialist advice. Future access to drainage infrastructure must not be blocked, and moving it later can be far more complicated than resolving the issue before installation.
Get levels and drainage right
The base should be level, but the surrounding garden should encourage water to move away from the building. Standing water near the walls can cause splashing, algae growth and a muddy route to the door, even when the garden room itself is made from durable, low-maintenance materials.
If your garden has heavy clay soil or regularly becomes waterlogged, speak to a groundworks professional about drainage before construction starts. A simple gravel margin, land drain or carefully shaped fall in the surrounding landscape may be enough. On more challenging sites, a fuller drainage plan may be needed.
The finished base level also deserves thought. Setting the floor too low can make the room feel disconnected from the garden and increase the chance of water reaching the threshold. Setting it too high may require additional steps, ramps or retaining work. The right height balances weather protection, easy entry and the look of the completed building.
Plan electricity, data and water before the base is laid
A garden room becomes far more useful when services are planned early. If you are installing sockets, heating, lighting, internet, a consumer unit, water supply or drainage, the routes for cables and pipes should be agreed before concrete is poured or the foundation system is fitted.
For a garden office, a reliable data connection may be as valuable as the power supply. For a garden bar, studio kitchenette or annexe-style space, water and waste requirements can affect the base layout and position of the building. Electric cable runs should be installed to the relevant standards by a qualified electrician, with suitable protection and depth below ground.
Think about external lighting too. A well-lit path makes the space more welcoming after dark and safer through wet winter months. Planning these details at the groundwork stage avoids lifting patios or digging up newly finished borders later.
Allow room around the building
Do not prepare a garden room base to the exact visible footprint without confirming the required dimensions. The foundation may need to extend beyond the external walls, depending on the construction method and manufacturer specification. There may also need to be clear space around the building for installation, guttering, maintenance and airflow.
Leave enough room to clean windows, manage planting and inspect the perimeter. A narrow strip of gravel, paving or composite decking around the room can provide a tidy transition between the building and the garden while reducing mud and splashback.
This is also the moment to decide how the garden room connects to your wider outdoor space. A patio outside bi-fold or French doors can create an easy entertaining area. A simple path may be all that is needed for a peaceful workspace. The best layout reflects how you will actually move between home, garden and room every day.
Check planning and building considerations early
Many garden rooms can be installed under permitted development rules, but this depends on factors including height, position, property type and intended use. A building used incidentally to the main house, such as a home office, hobby room or gym, is treated differently from self-contained living accommodation.
The base itself may also raise practical considerations, particularly where significant excavation, raised platforms, drainage changes or boundary work are involved. If your property is listed, in a conservation area, subject to restrictive covenants or has unusual site conditions, seek advice before committing to the design.
At Composite Garden Studios Ltd, the best projects begin with a clear conversation about the room, the garden and the way you want to live. Sharing photographs, measurements and details of access early helps identify the right base solution before work is booked.
A final check before installation day
Before the installation team arrives, make sure the base is clean, accessible and fully cured if concrete has been used. Remove loose materials, pots, garden furniture and anything that could obstruct the route to site. Confirm that the dimensions and levels match the approved requirements, rather than relying on an estimate.
A well-prepared base is not simply groundwork hidden below your new room. It is what allows every carefully chosen feature above it – insulated walls, quality doors, large windows and a timber-style composite finish – to perform as intended for years to come.